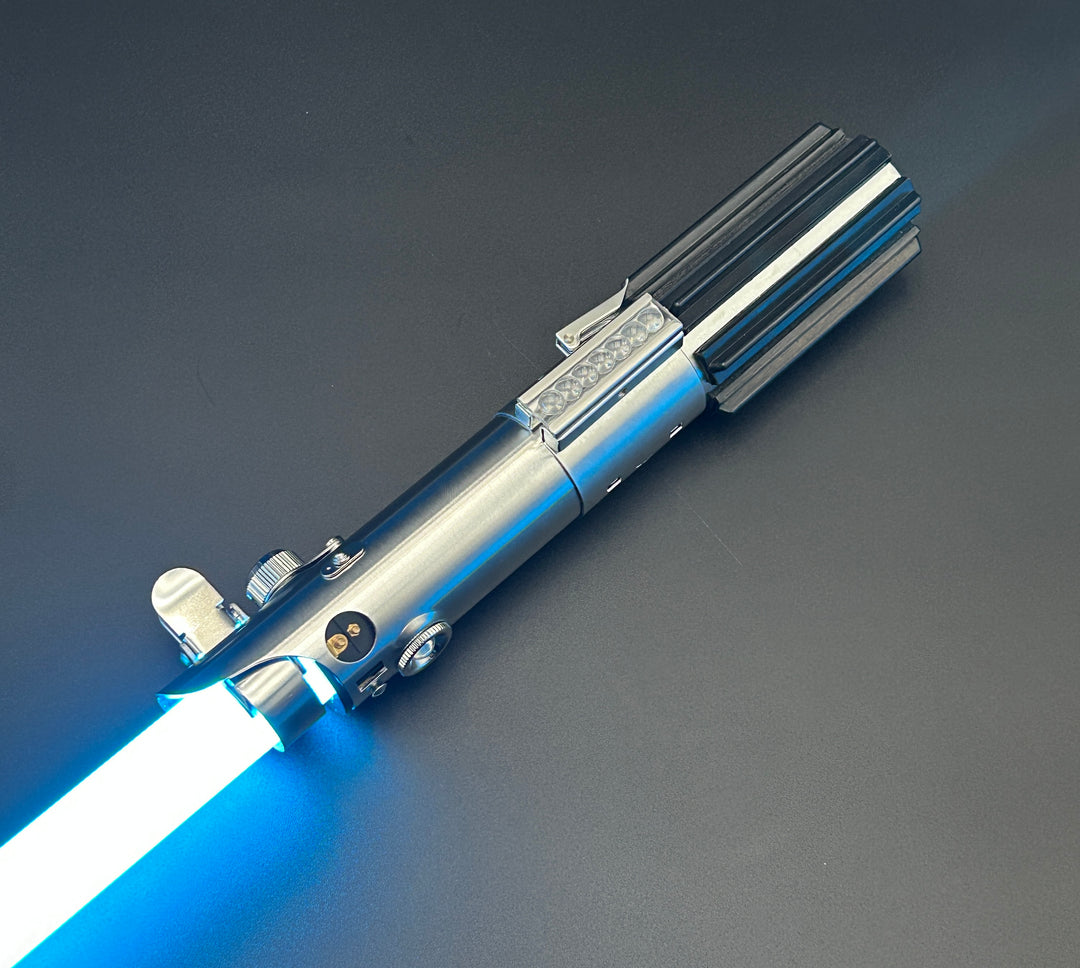
3D printed crystal chamber install chassis designed for the Saberbay Temperance hilt, not intended for any other saber design.
Comprised of 4 individual parts for housing all required electronics.
The small hiltside PCB holder goes in the recessed section of the emitter (I recommend adding some kind of adhesive to the bottom before installing)
The main upper chassis body stays static in the upper section aligned with the switch actuators, and uses the retention screw to hold in place
The chassis is removable through the pommel using the rotary chassis PCB set
Crystal chamber is separately printed and holds the included resin crystal
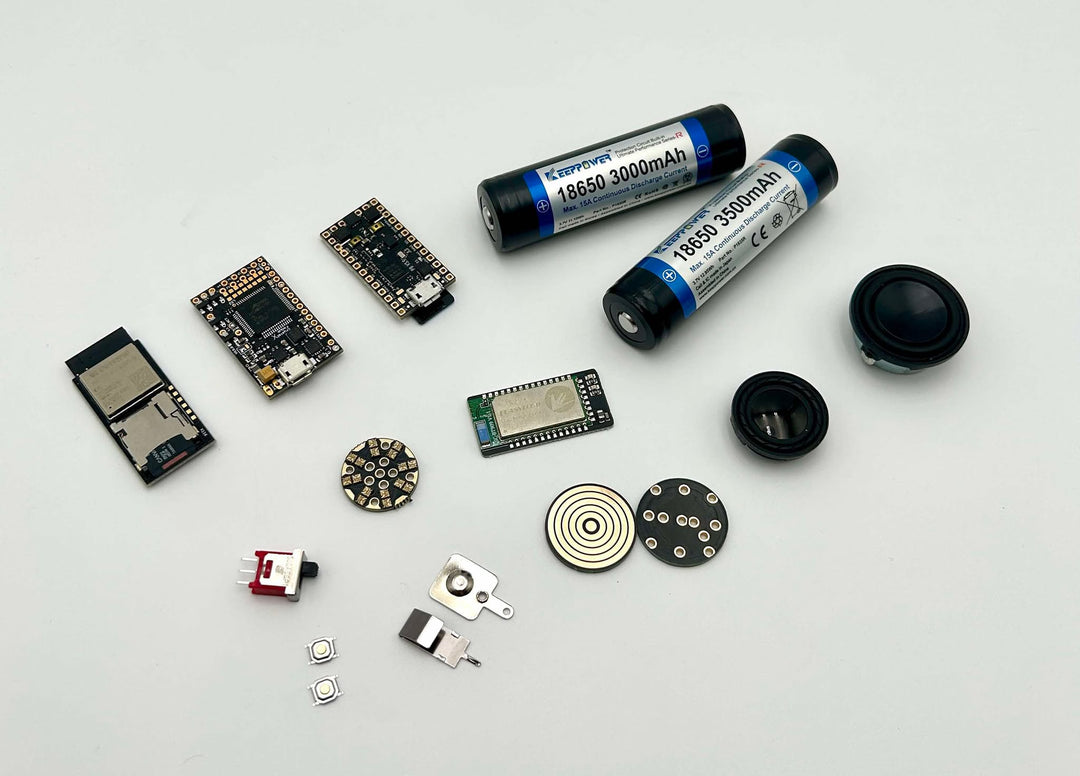
Parts list for install:
-Proffie or GHV4 soundboard
-short pin hiltside neopixel connector
-red tactile switch PCB for main button
-tactile pixel switch PCB for aux button
-WS2812C-2020 4mm width mini LED strip (30 LED length)
-high amp killswitch
-removable 18650 protected button top battery (Option 2 battery contacts included with chassis print)
-6 trace rotary chassis connector set
-single pixel accent for crystal illumination
-28mm bass speaker